
I knew the centre bearing mounting was defective so I got the entire mouting out. The bracket you see here in my hand is normally attached to the rubbers. In an attempt to minimise the problem a previous mechanic had tried to put a rubber grommet of some sort between the mounting plate and the chassis. You can see it on the left. Of course this didn't help any so I've removed it.

New bushings - a couple of cents each - are always a pleasure to compare with the old ones.

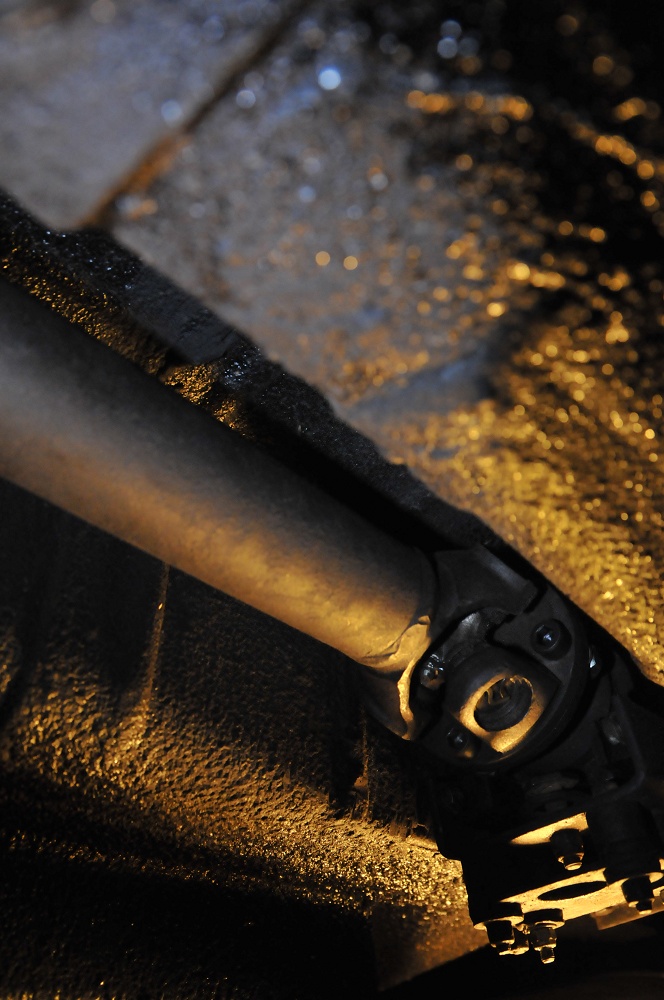
So far so good - although this job alone had taken a while already. After I had put everything back in place I found one of the universal joints to be very jiggly. Apparently one of the UJ's cups had lost all it's needles. So *that's* where the distinct "klonk" came from every time I changed from reverse to forward or vice versa.
In theory, changing these universal joints isn't all that difficult. Of course, it tends to get more difficult the older the car is. And keeping the needles in place while tapping the cups in isn't easy either. So, to cut a long story of agony short, it took me about two or three hours to change a couple of universal joints and put the prop shaft back in (again).
Later on, I started to realise that there was "something" about the position of prop shafts. And then it struck me: I had removed the prop shaft from the splined shaft after the first universal joint, and neglected to make marks as to how it had come out. A quick check, and indeed the shaft was mounted incorrectly, about 90° wrong. Apparently, this can lead to surprising driving behavior. *!§@!!#!
This time I decided to leave the centre bearing and to remove just the part between the splined shaft and the centre bearing. This time I made a mark where the flanges meet in the centre so I can mate them again the way they were. Of course, the nuts and bolts were rusty and not accesible with a socket wrench. Darn it to heck! (to put it very mildly). The Dremel had to come in to remove the nuts.
And some more darnation. With the exhaust in the way I couldn't get the shaft in the splines the way it was supposed to be. So - you've guessed it - the front of the exhaust had to come loose. Mercifully, these bolts were rather easy to undo. After that things went pretty easily. I did replace the original bolts with metric size bolts with Allen heads. This way, I could fasten them with a ratchet in a matter of minutes.
I took the car for a short test drive (although the engine is still running rough) and the "klonk" and "dakadakadaka" sounds are gone. Finally.
Geen opmerkingen:
Een reactie posten