maandag 15 augustus 2011

To finish today's postings: a view of the garage...
It seems the Mk II wreck loses some more rusty bits every time I take a photograph of it.

The gas tanks

The gas tanks need urgent attention.

The seller of the car already told me the left hand side tank was leaking. I've poured some (old) gasoline in it and here's the result after a couple of minutes:


Some of the horrible sludge that came out of the "good" tank when I took the sender out and there was more petrol in it than I had thought...


There are two possible approaches: buy new tanks (in which case I'll probably have to buy new senders and maybe even new fuel pumps to fit the only replacement that still exists) or try to repair these. Matthys sells kits to derust, degrease and coat tanks, and even little holes should be no problem. I'll keep you updated.
I went for the largest kit (110-170 liters) because I figure I can do both tanks *and* the Mk II tank with this kit.

Both senders are defective. I've only taken out one of them (the one from the good tank) and one of the conductors (metal strips) had sheared off. They can be soldered. This isn't my best soldering ever but it was only a trial. I have to take out the sender again when I coat the tanks.

New head gasket

There were water leaks from the head gasket so instead of waiting for worse, I've decided to change it right away. This also gave me a chance to change the carbs' diaphragms easily.
I've also replaced some of the core plugs that were corroded. Some of them only required a mild tap with a screwdriver to break.
The valve springs were replaced as well (I'm hoping the ticking noises will stop) and I've ordered some new shims as valve clearance was too little for almost every valve.

I took the head out with the inlet manifold (minus air filter) in place. The outlet manifold was removed separately along with the first downpipe.


Bottom view of the head.


Head back in place, manifolds and cam shafts to follow...

Various

Some miscellaneous things....

While waiting for the new shims to arrive, I've used egg cartons to keep the tappets and their shims in the right order.


The carbs' gaskets had been replaced but there was still a small leak so I've decided to replace the springs and the diaphragms. Not a bad idea as it turned out.


I'm taking the seats to Amsterdam to have them reupholstered (There was a special action at http://www.bekledingexpress.nl/ - so my brother Filip took them out of the car. Apparently the whole interior is held in place with 10 screws.


Filip also took out the radio and heater controls in order to reach the vacuum distributor for the heating. I'm changing all the vacuum hoses, they seem pretty deteriorated.


Boot light


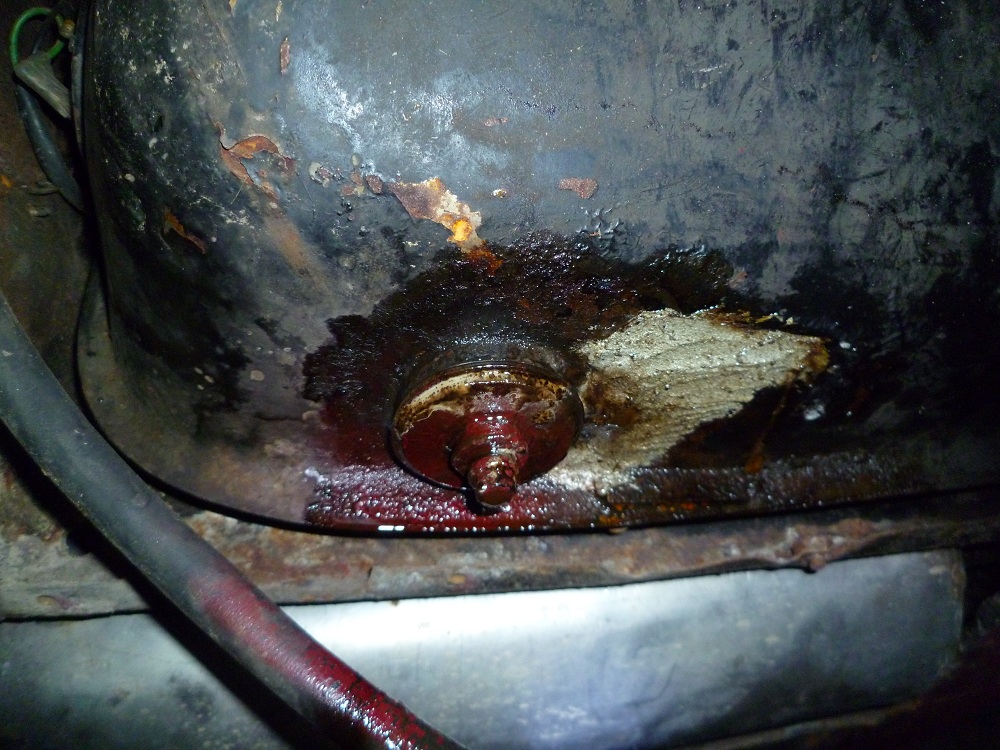
As you probably remember, the boot light didn't light up and the mercury tilt switch (the orange thingy) was the culprit.
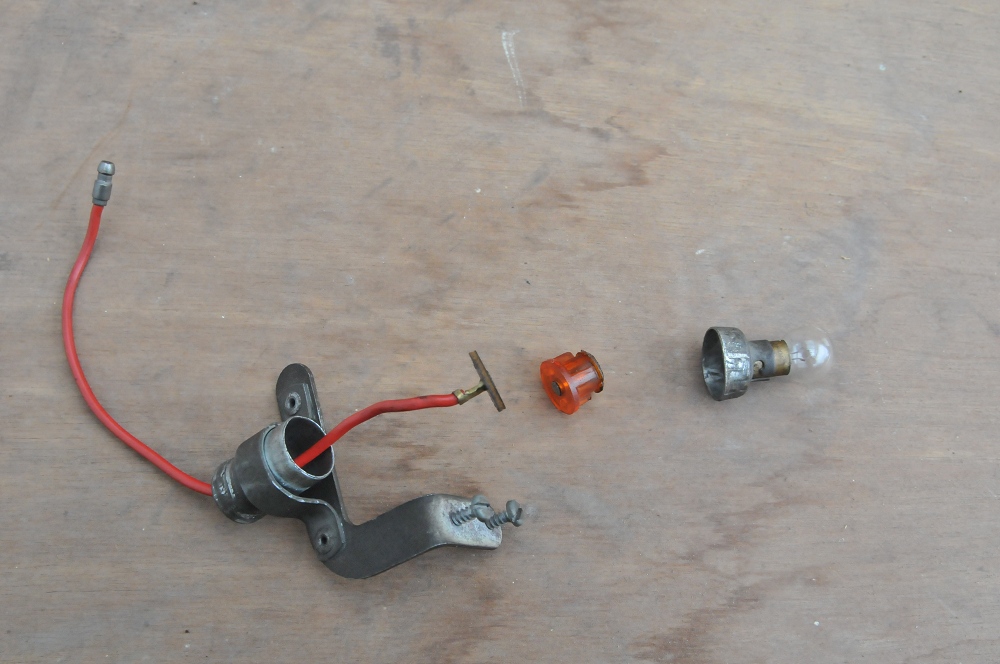


I found that the Comus AG3011-0 is the right switch for the job. It can handle 1A at 12-24V. Even getting it in place was pretty easy.

But first I got it wrong. If you mount it this way, the light would only go on if you're on a steep incline ;-)


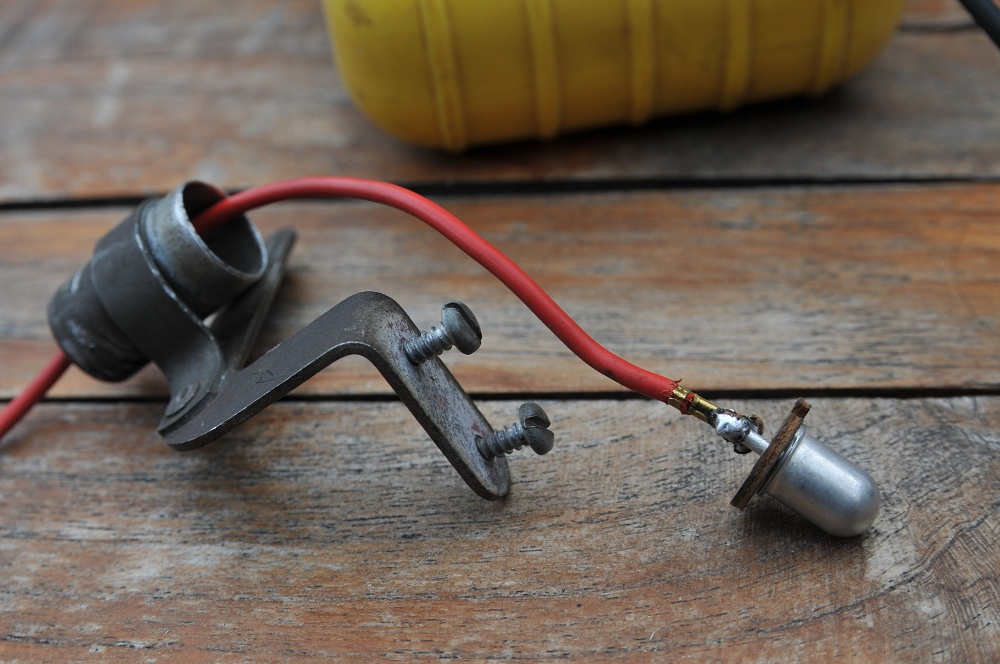
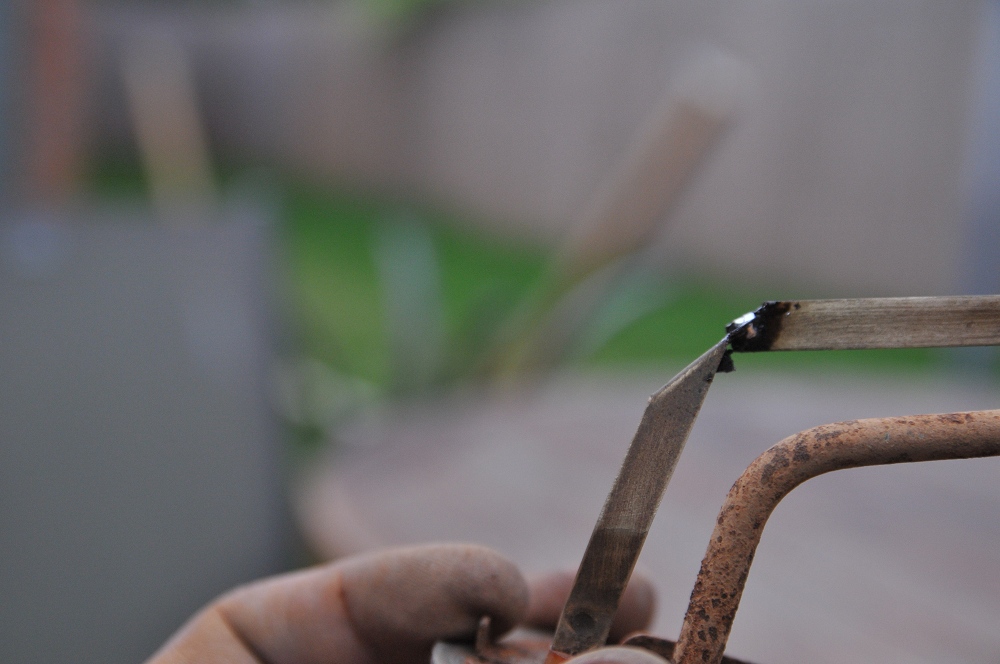
This is the correct way. I've soldered a small copper ring to the end to make better contact with the lamp. The brown spacer is the original one minus the wire in the center. The original spring could also be re-used. Soldering a wire on the rounded side was surprisingly easy. Heat-shrinkable tube is indispensable unless you want to blow a fuse every time you open the boot.


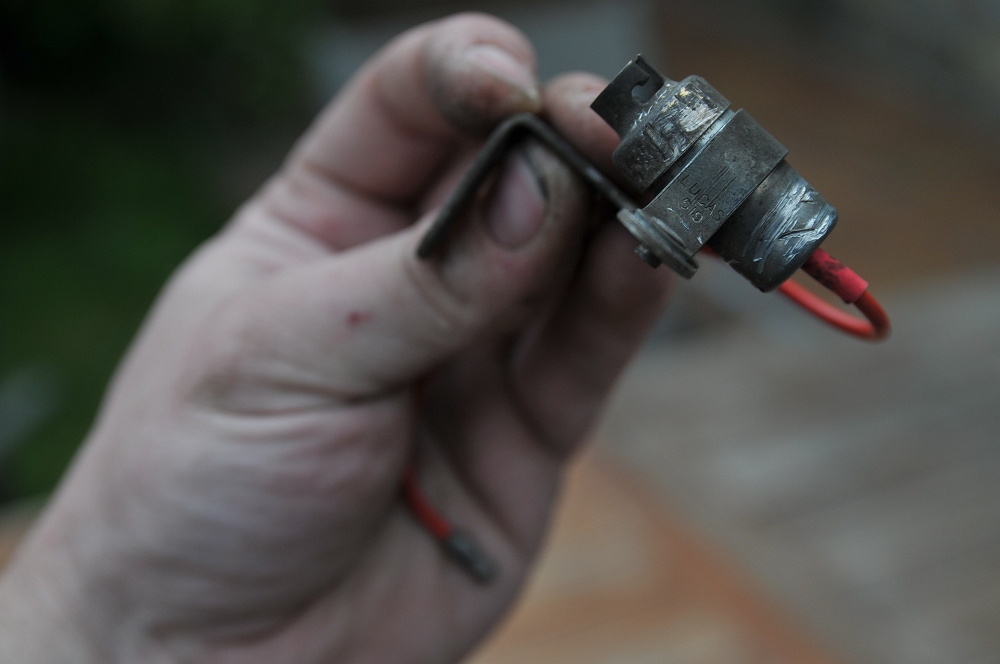
And there it is. It's a shame the housing was damaged a little by the vise and pliers I had to use to open it, but once the lamp is back in place, nobody will notice.


By the way, the light *does* go out when the boot lid is closed, I've checked.