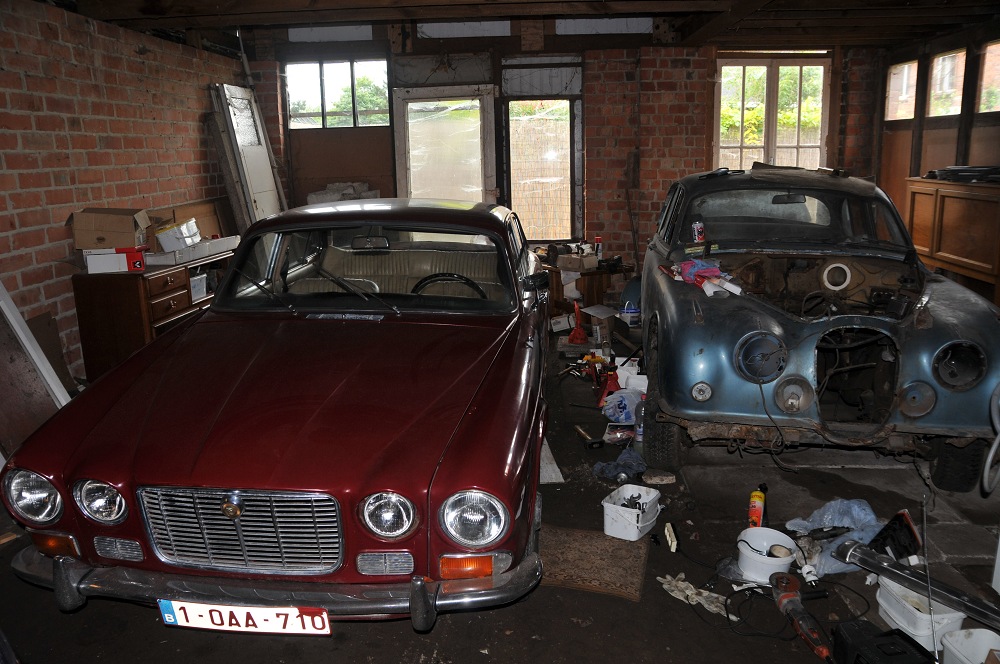
maandag 15 augustus 2011

To finish today's postings: a view of the garage...
It seems the Mk II wreck loses some more rusty bits every time I take a photograph of it.

The gas tanks

The gas tanks need urgent attention.

The seller of the car already told me the left hand side tank was leaking. I've poured some (old) gasoline in it and here's the result after a couple of minutes:


Some of the horrible sludge that came out of the "good" tank when I took the sender out and there was more petrol in it than I had thought...


There are two possible approaches: buy new tanks (in which case I'll probably have to buy new senders and maybe even new fuel pumps to fit the only replacement that still exists) or try to repair these. Matthys sells kits to derust, degrease and coat tanks, and even little holes should be no problem. I'll keep you updated.
I went for the largest kit (110-170 liters) because I figure I can do both tanks *and* the Mk II tank with this kit.

Both senders are defective. I've only taken out one of them (the one from the good tank) and one of the conductors (metal strips) had sheared off. They can be soldered. This isn't my best soldering ever but it was only a trial. I have to take out the sender again when I coat the tanks.

New head gasket

There were water leaks from the head gasket so instead of waiting for worse, I've decided to change it right away. This also gave me a chance to change the carbs' diaphragms easily.
I've also replaced some of the core plugs that were corroded. Some of them only required a mild tap with a screwdriver to break.
The valve springs were replaced as well (I'm hoping the ticking noises will stop) and I've ordered some new shims as valve clearance was too little for almost every valve.

I took the head out with the inlet manifold (minus air filter) in place. The outlet manifold was removed separately along with the first downpipe.


Bottom view of the head.


Head back in place, manifolds and cam shafts to follow...

Various

Some miscellaneous things....

While waiting for the new shims to arrive, I've used egg cartons to keep the tappets and their shims in the right order.


The carbs' gaskets had been replaced but there was still a small leak so I've decided to replace the springs and the diaphragms. Not a bad idea as it turned out.


I'm taking the seats to Amsterdam to have them reupholstered (There was a special action at http://www.bekledingexpress.nl/ - so my brother Filip took them out of the car. Apparently the whole interior is held in place with 10 screws.


Filip also took out the radio and heater controls in order to reach the vacuum distributor for the heating. I'm changing all the vacuum hoses, they seem pretty deteriorated.


Boot light


As you probably remember, the boot light didn't light up and the mercury tilt switch (the orange thingy) was the culprit.


I found that the Comus AG3011-0 is the right switch for the job. It can handle 1A at 12-24V. Even getting it in place was pretty easy.

But first I got it wrong. If you mount it this way, the light would only go on if you're on a steep incline ;-)


This is the correct way. I've soldered a small copper ring to the end to make better contact with the lamp. The brown spacer is the original one minus the wire in the center. The original spring could also be re-used. Soldering a wire on the rounded side was surprisingly easy. Heat-shrinkable tube is indispensable unless you want to blow a fuse every time you open the boot.


And there it is. It's a shame the housing was damaged a little by the vise and pliers I had to use to open it, but once the lamp is back in place, nobody will notice.


By the way, the light *does* go out when the boot lid is closed, I've checked.

woensdag 27 juli 2011

Prop shaft rattle

Although I am a rather patient person, the prop shaft on this car has tested my patience to the limits and if there is a God above, he will have heard his name mentioned a couple of times in ways he's rarely heard.

I knew the centre bearing mounting was defective so I got the entire mouting out. The bracket you see here in my hand is normally attached to the rubbers. In an attempt to minimise the problem a previous mechanic had tried to put a rubber grommet of some sort between the mounting plate and the chassis. You can see it on the left. Of course this didn't help any so I've removed it.


New bushings - a couple of cents each - are always a pleasure to compare with the old ones.


So far so good - although this job alone had taken a while already. After I had put everything back in place I found one of the universal joints to be very jiggly. Apparently one of the UJ's cups had lost all it's needles. So *that's* where the distinct "klonk" came from every time I changed from reverse to forward or vice versa.
In theory, changing these universal joints isn't all that difficult. Of course, it tends to get more difficult the older the car is. And keeping the needles in place while tapping the cups in isn't easy either. So, to cut a long story of agony short, it took me about two or three hours to change a couple of universal joints and put the prop shaft back in (again).

Later on, I started to realise that there was "something" about the position of prop shafts. And then it struck me: I had removed the prop shaft from the splined shaft after the first universal joint, and neglected to make marks as to how it had come out. A quick check, and indeed the shaft was mounted incorrectly, about 90° wrong. Apparently, this can lead to surprising driving behavior. *!§@!!#!

This time I decided to leave the centre bearing and to remove just the part between the splined shaft and the centre bearing. This time I made a mark where the flanges meet in the centre so I can mate them again the way they were. Of course, the nuts and bolts were rusty and not accesible with a socket wrench. Darn it to heck! (to put it very mildly). The Dremel had to come in to remove the nuts.

And some more darnation. With the exhaust in the way I couldn't get the shaft in the splines the way it was supposed to be. So - you've guessed it - the front of the exhaust had to come loose. Mercifully, these bolts were rather easy to undo. After that things went pretty easily. I did replace the original bolts with metric size bolts with Allen heads. This way, I could fasten them with a ratchet in a matter of minutes.


I took the car for a short test drive (although the engine is still running rough) and the "klonk" and "dakadakadaka" sounds are gone. Finally.

The electrics

Some of the switches on the instrument panel weren't in their place as solidly as should be. Some of the plastic rims that hold the switches had broken off, but there was a spare switch holder between the salvage parts I'd got with the car. It took little under an hour to replace the whole thing, starting with carefully noting which wire went where.


The switch panel is out.


And this is the replacement one. Apparently the pieces of white tape on the green foil are there because the little lamps are right behind those places and the light has to be more or less the same across the indication strip.


Then I've tackeled another problem which the previous owner's mechanic couldn't quite figure out: neither the boot light nor the reversing lights worked. The man had spent some time with the wires in the boot, but it turns out the wiring wasn't the problem.

The boot light seemed to be getting power but even with a new bulb it didn't light up. I've dismantled the socket and here are the components:


The orange thing is a tilt switch that's supposed to switch on the light when the boot lid is opened. This switch doesn't make contact anymore. It's no longer available - probably because it contains mercury. I've been looking around for a (non-mercury) tilt switch that can handle 1 Amp - most of them seem to be for small electronics applications and can hardly switch any power. I may have found a source, but I'll update once I'm sure it works.

As for the reversing lights: the switch was the culprit. The switch is depressed by a piece of plastic on the selector lever. Apparently the switch wasn't sensitive enough.


These switches are relatively easy to open. I've cleaned the contacts and elevated them a little. Works like a charm now. The switch is still available new as well, but this is the cheapest solution.


As you may have noticed in the previous pictures, the selector light about which I've posted earlier (the repair with the ball point pen) has been removed again. It broke down very easily. After a couple of hours of cursing and trying, I've found the final solution.

This requires a white high-intensity led. Available from any electronics store. In one of the heat shrinkable tubes (doesn't matter which one) is a 1k resistor. Observe the led's polarity!


This finely threaded hollow rod is used in certain lighting fixtures to screw sockets on. I suppose it's available in DIY shops.


An exact and easy fit.


Oh, a sidenote: I've replaced both flasher units (there's one for "normal" and one for hazard warning). The Haynes manual says there's one on the right and one on the left of the steering column, but I suppose that's for RHD cars since on mine both were to the left of the steering column. Here they are, indicated with the circles. The arrows point to a couple of inline fuses that are easily overlooked. One of them is for the selector light and cigar lighter light.

About the engine...

The engine ran "a little" rough. I thought I'd found the culprit when I took out the spark plugs and one of them seemed to have no metal "hook" thingy. Unfortunately, this turned out to be just an other make and kind of spark plug. I have put in new spark plugs to be on the safe side.


The gaskets on the carbs were in a sorry state as well. When the car hadn't been started in a couple of days petrol gushed out of the carburetter until the gaskets had been wetted again. I've ordered a couple of SU gasket sets. It turned out to be a bit of a detective job as there is no description provided which gasket goes where, and it seemed some things (like the rubber o-ring on the idle adjust screw) had just disappeared with the years. Luckily, there are detailed photographs on the SU website if you click on the right kind of type.
One of the float chambers had some petrol inside. Although I couldn't find the leak I thought it would be a shame to throw it away (a new one is about €30 I believe) so I've drilled a 3mm hole in it, shaken out all the fuel inside and left the remains to evaporate, and then I've soldered it shut with my regular electronics soldering iron. It seems ok now, and if it's not, it was worth the try.


After placing the carb setup back - an annoying job, there's no room for a ratchet so you have to put 8 nuts on at 1/4 of a turn at a time) - I noticed one of them is still leaking some fuel, so the diaphragms and springs will be replaced as well.

For now, the engine is running, I've set up the carbs "more or less" right but the engine isn't running smooth or quiet.

I've changed the fan belt and alternator belt as well.

As for the power steering, the pump had no oil in it whatsoever. I've refilled it and it seems to be holding its oil pretty well. I've ordered the gasket set nevertheless, but I won't be rebuilding this pump until I'm sure it needs doing.

Some random pictures


And the "spares" (and scrap) for both Mk II and XJ6...

woensdag 20 juli 2011

Some more small updates

A tiny update before I will undertake some of the major repair works tomorrow...

- Right petrol tank seems to be leaking too
- I have replaced the switch holder in the instrument panel with one that came with the bits and pieces. Some of the plastics that hold the switches on the original one were broken. I've kept the best switches from both of them.
- Most importantly: bled the brakes and renewed the brake fluid. I had to push the pedal to the metal before the car would (eventually) come to a standstill. Now it brakes with screaming tires if it has to.
- The rattle from the prop shaft is due to its rubber mounting halfway. I've ordered a new one.

dinsdag 5 juli 2011

First "repairs".

When I bought this car I knew a lot of little errors would have to be sorted out. Being an electrician I've started with the electrics.

- First of all, the interiour lighting was missing. When I put in new lamps, they were on continuously. This turned out to be the fault of the right front door lamp switch. The other switches are in an "iffy" state as well so I will try to source four new door switches. Apparently, they aren't available new anymore.

- The dashboard lighting was defective. I've replaced all the lamps as a matter of course, and one of the two fuses that are located behind the instrument panel was defective. Replaced it and everything works like a charm now.


- I found it odd that my voltmeter gave readings between 0 and 14V after the voltage regulator. Out of curiosity I dismantled an old one and it proved to be a bi-metal "on-off" sort of thing so my readings were correct. Still, the oil and water gauges give a very high reading. The regulator apparenlty isn't the problem.


- The auto transmission indicator light was defective. I don't know whether it's still available but I've repaired the holder with a carefully sawn off piece of ball point pen.
Important: both this lamp and the cigar lighter lamp are behind an in-line fuse that's hidden near the steering column!


Finally, a picture of the car in the garage. I love that "long" look....

zondag 3 juli 2011

Another jag...

Whilst 
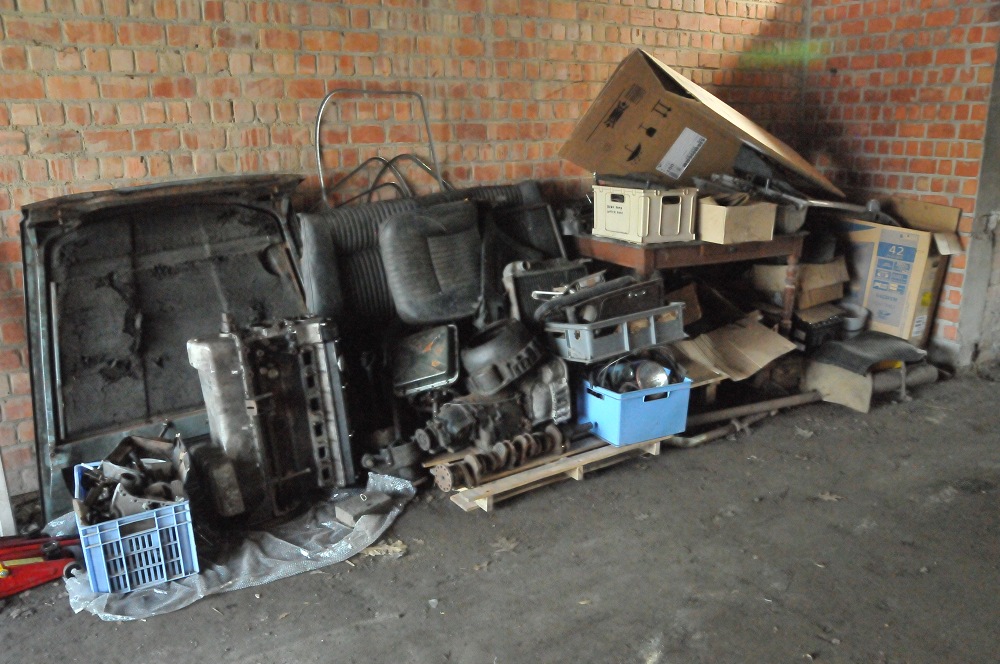
restoring a Mark 2 jaguar I bought this XJ6 rather impulsively. Although it's "only" a 2.8 (the engine notorious for blowing out its pistons) I found it very interesting because it had already undergone quite a lot of work and there were lots of spare parts. The price was right too. For the entire car, I only paid about one third of the price of the repair works. The gentleman who owned it before me had already sorted out the paperwork.

Just to give you an idea about the works done and the works at hand:

To do list (preliminary)
- repair dent above right front light
- repair small dents (bonnet, sides)
- repair or replace power steering pump (doesn't seem to be helping much)
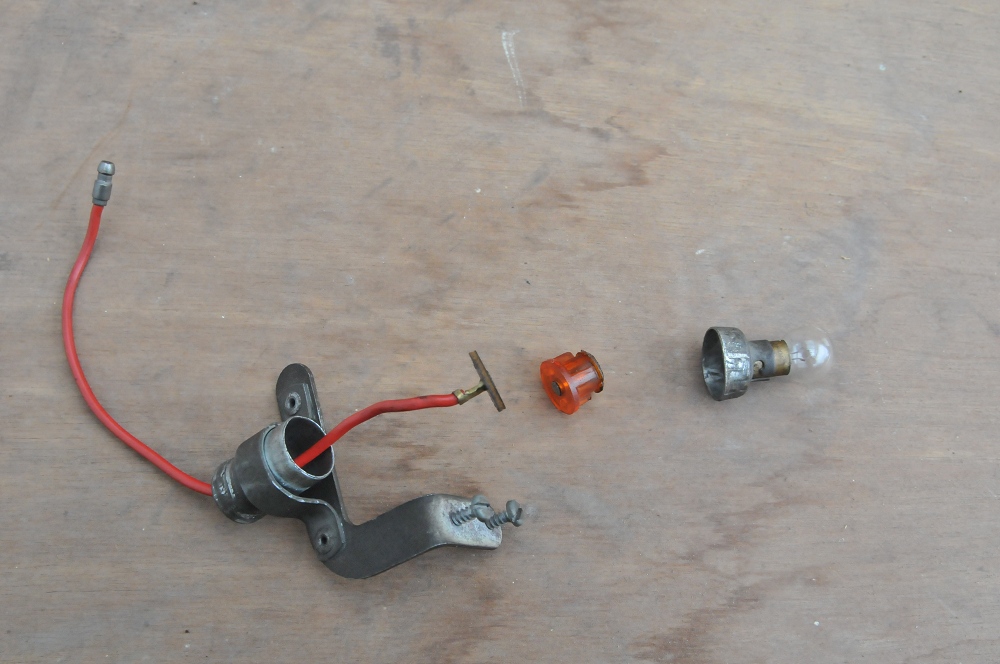
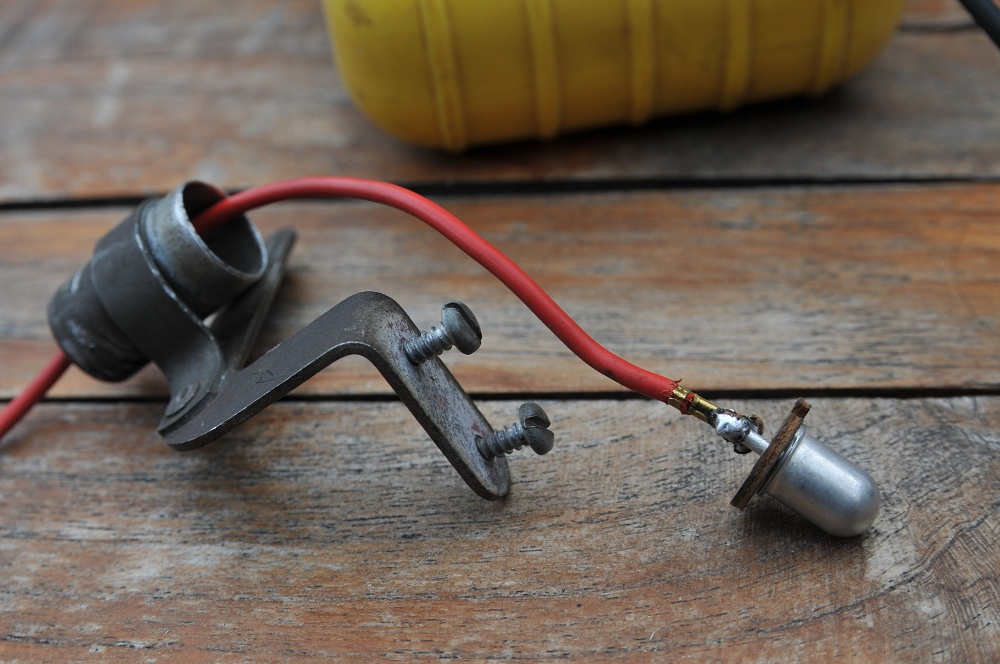
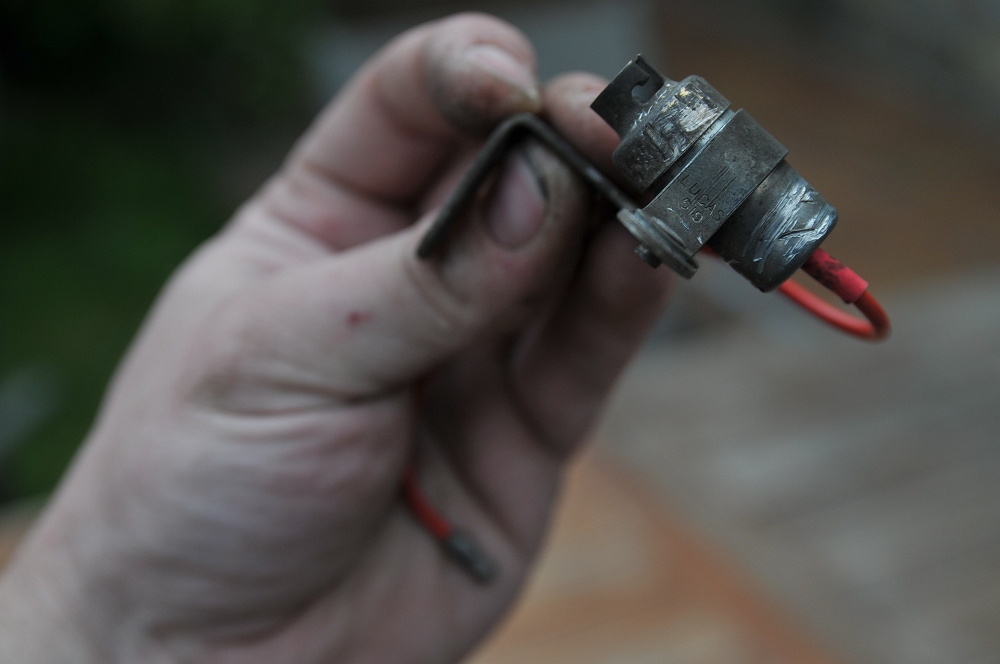
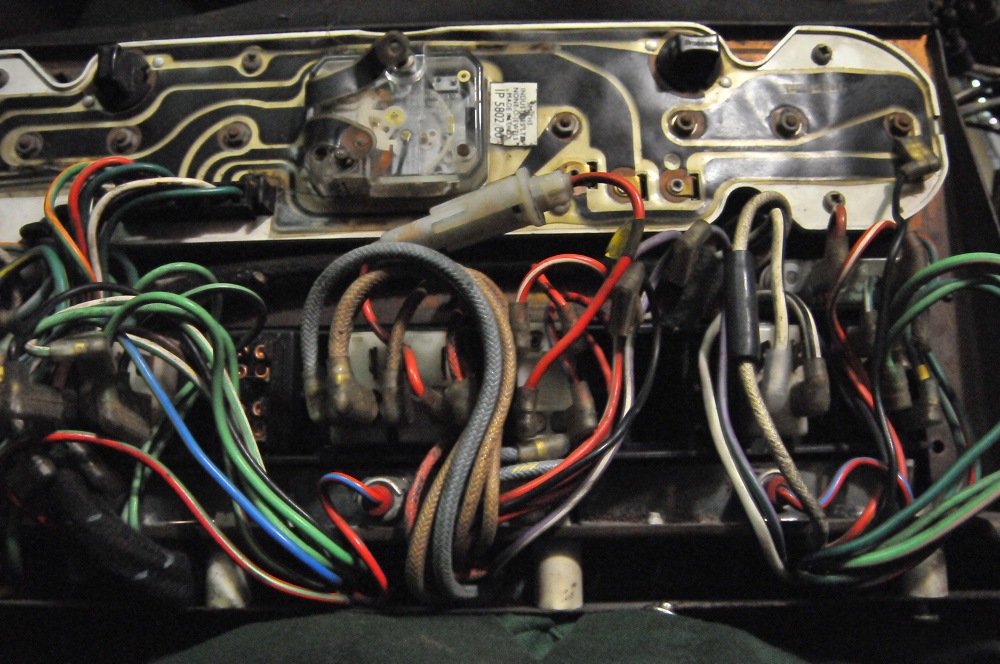
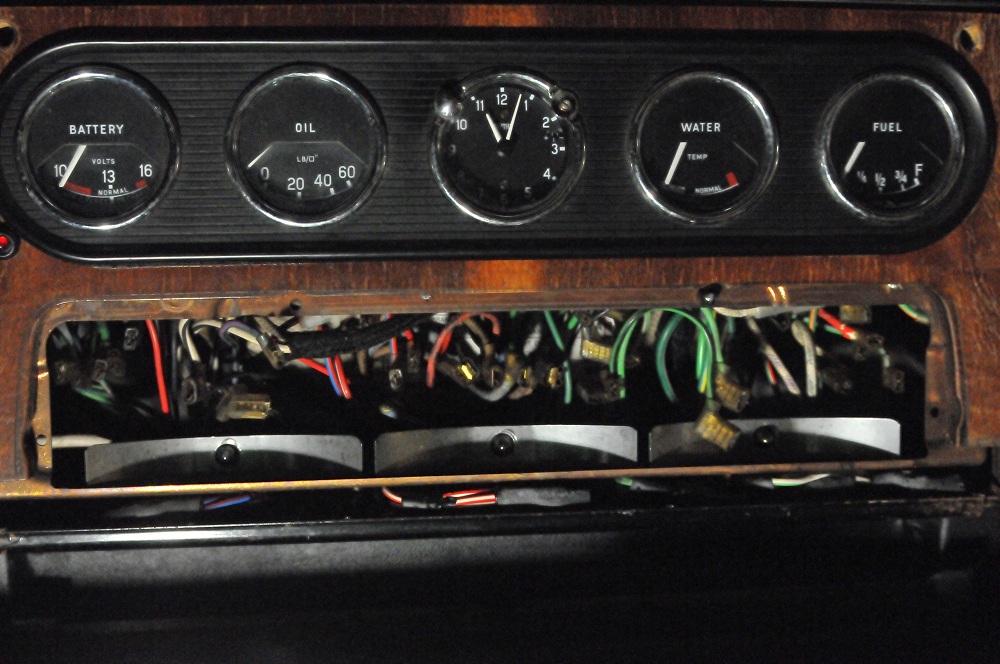
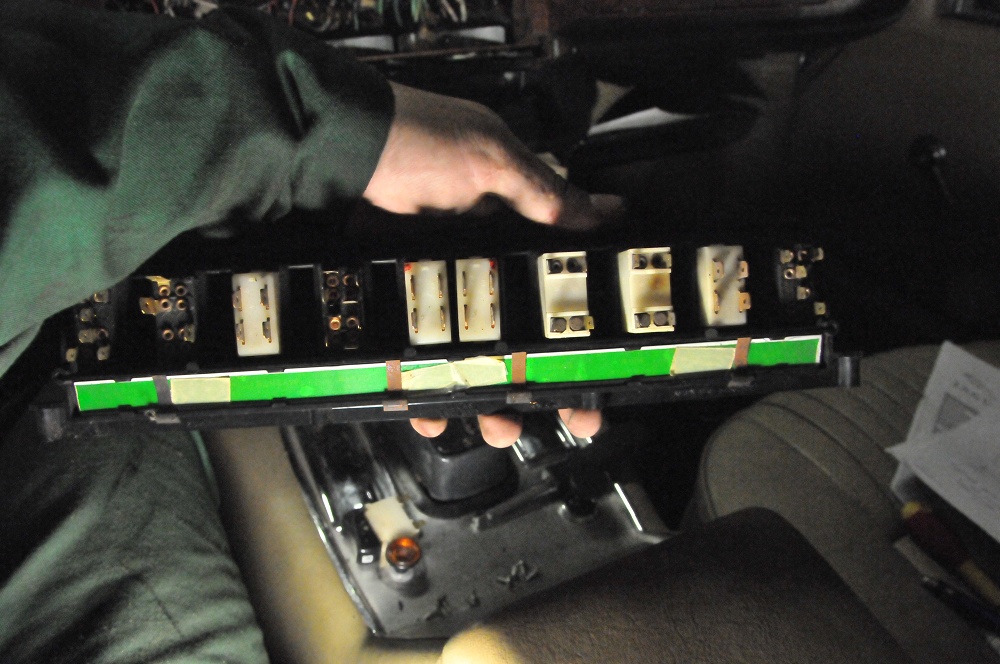
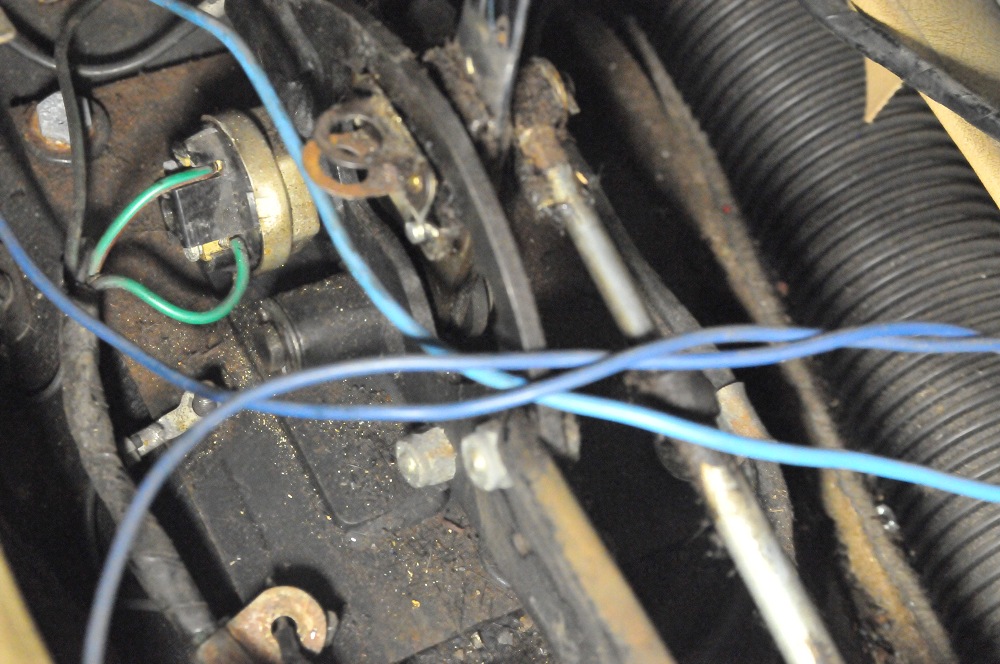
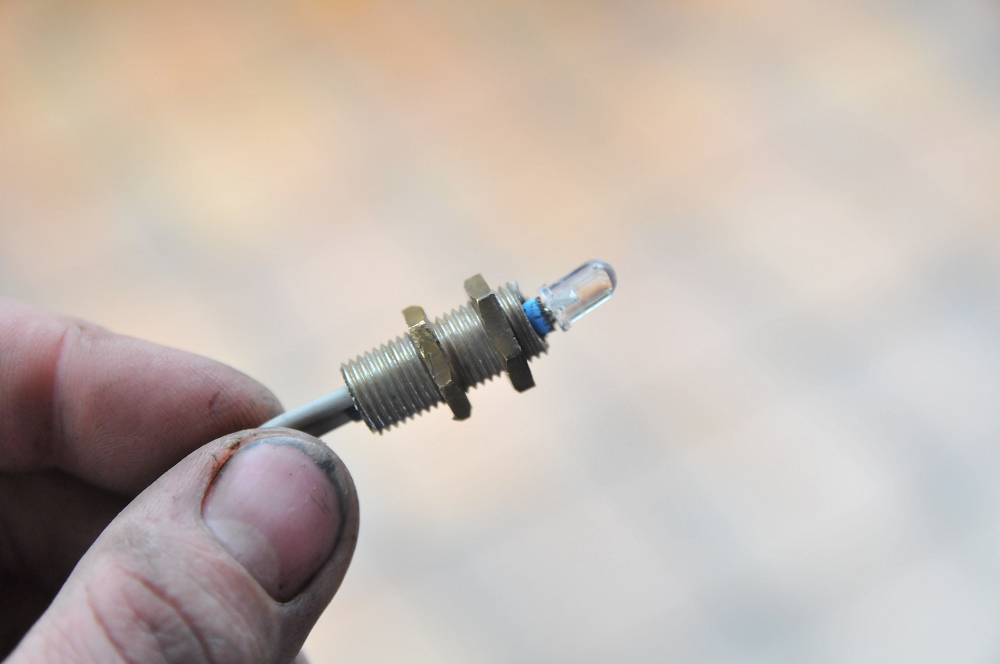
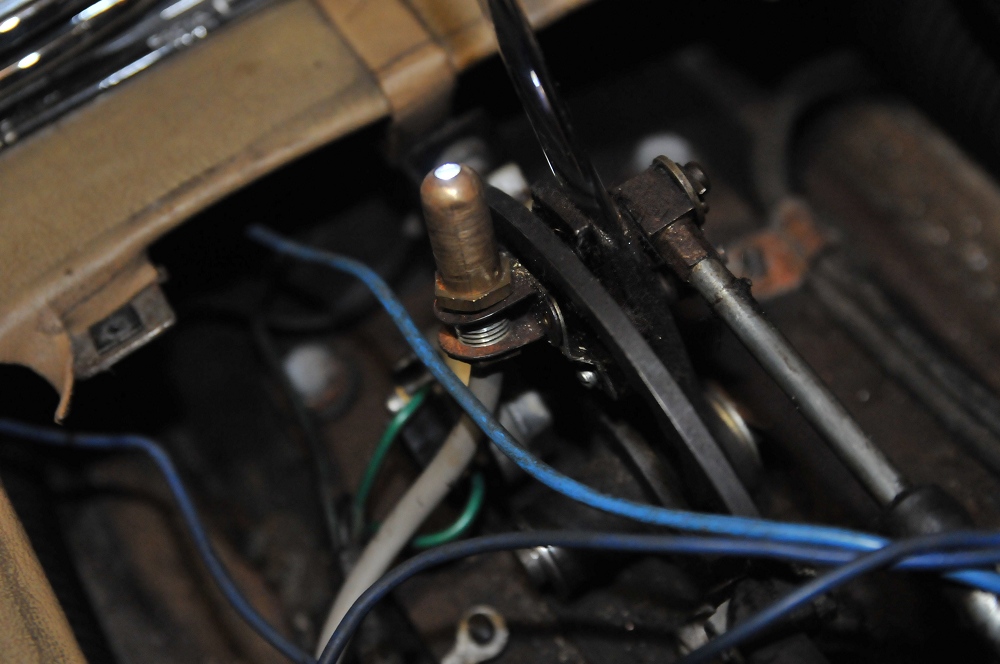
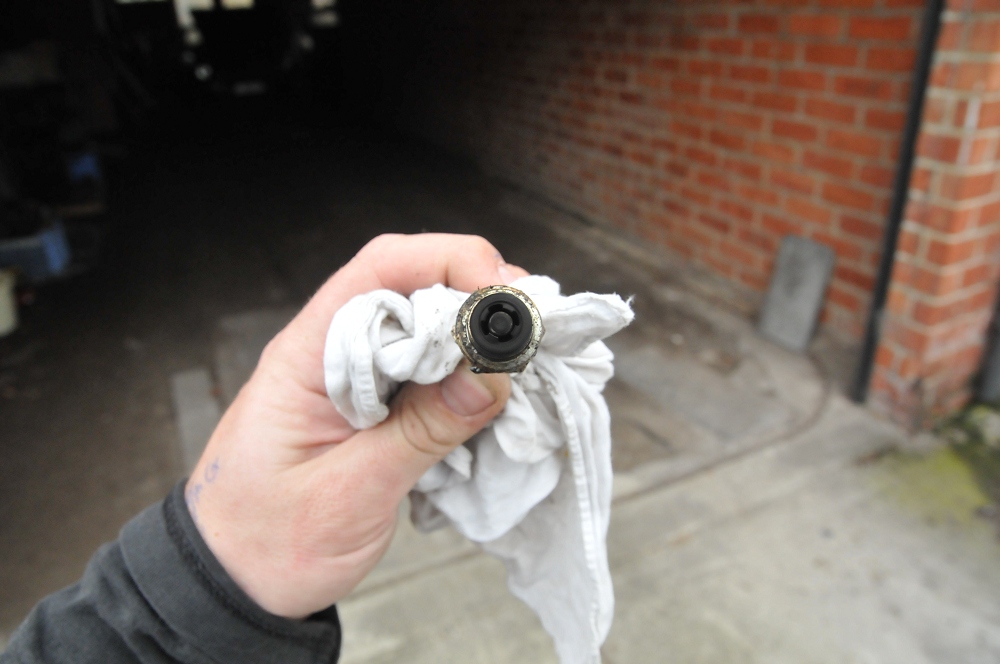
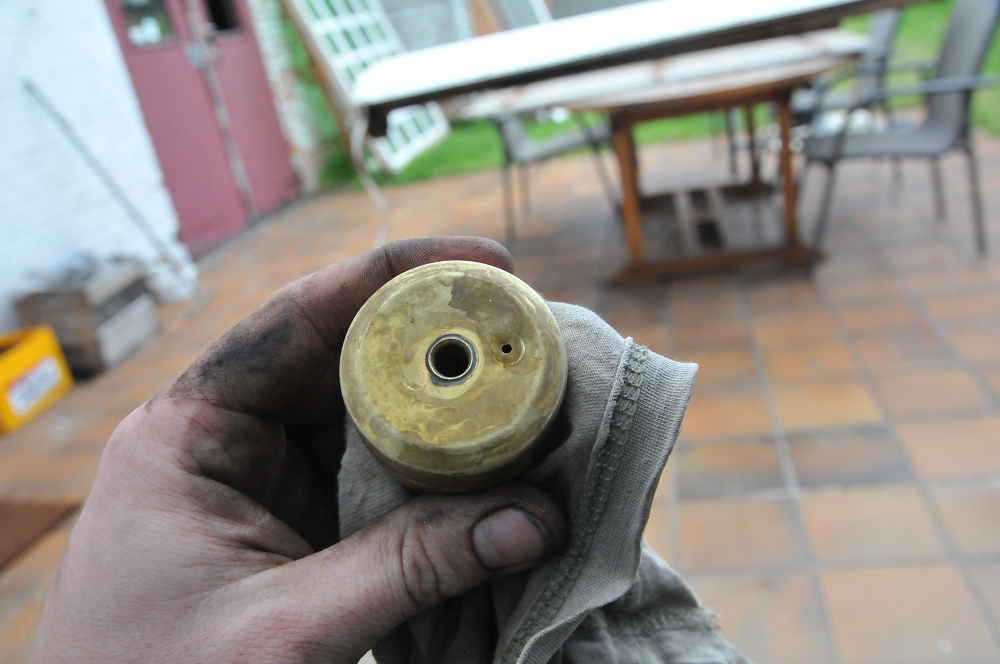
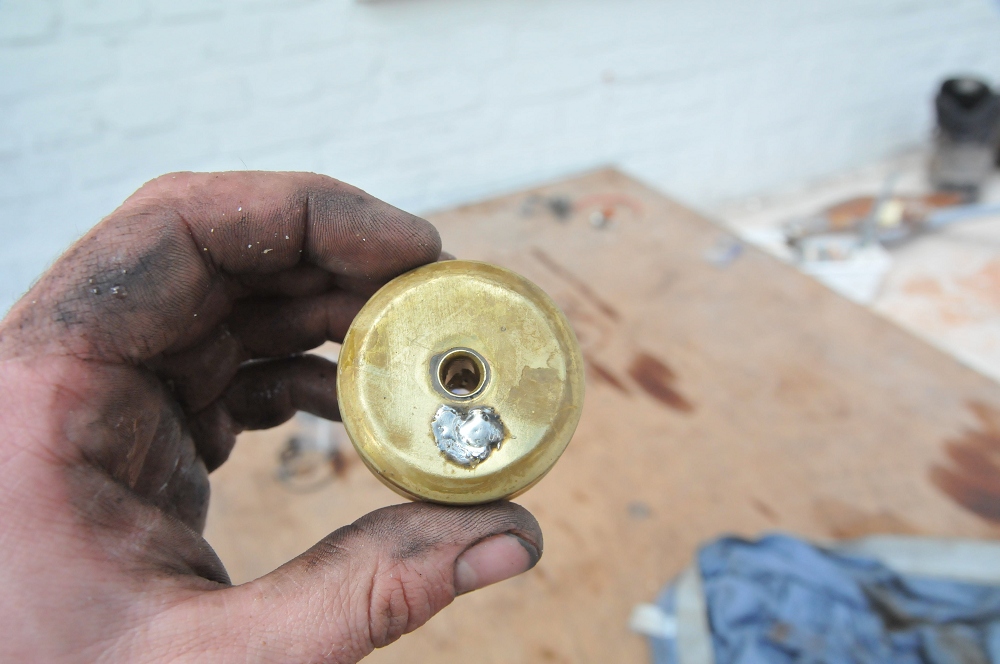
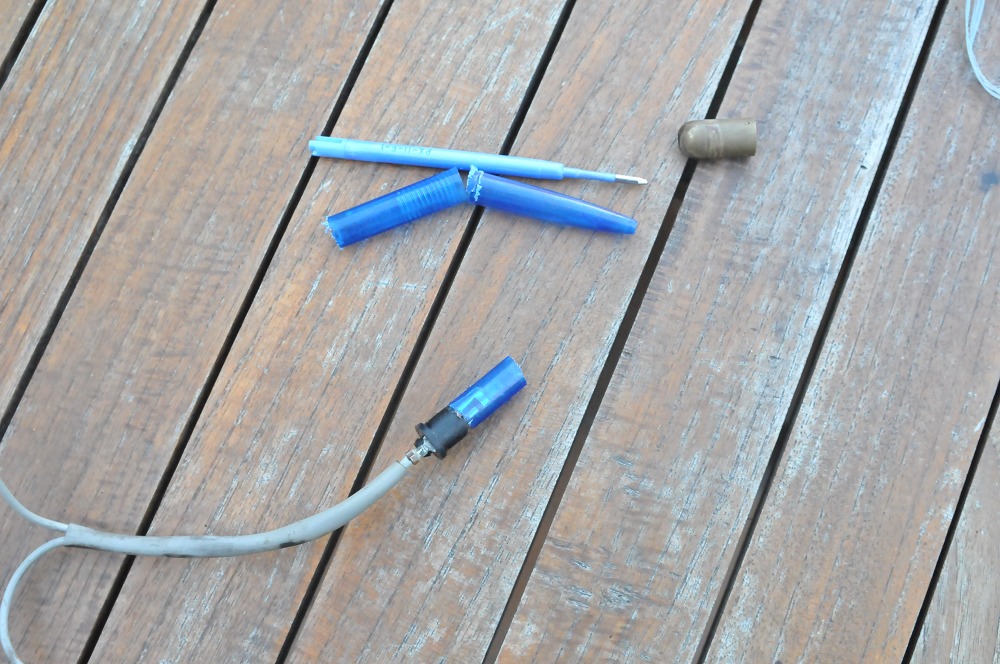
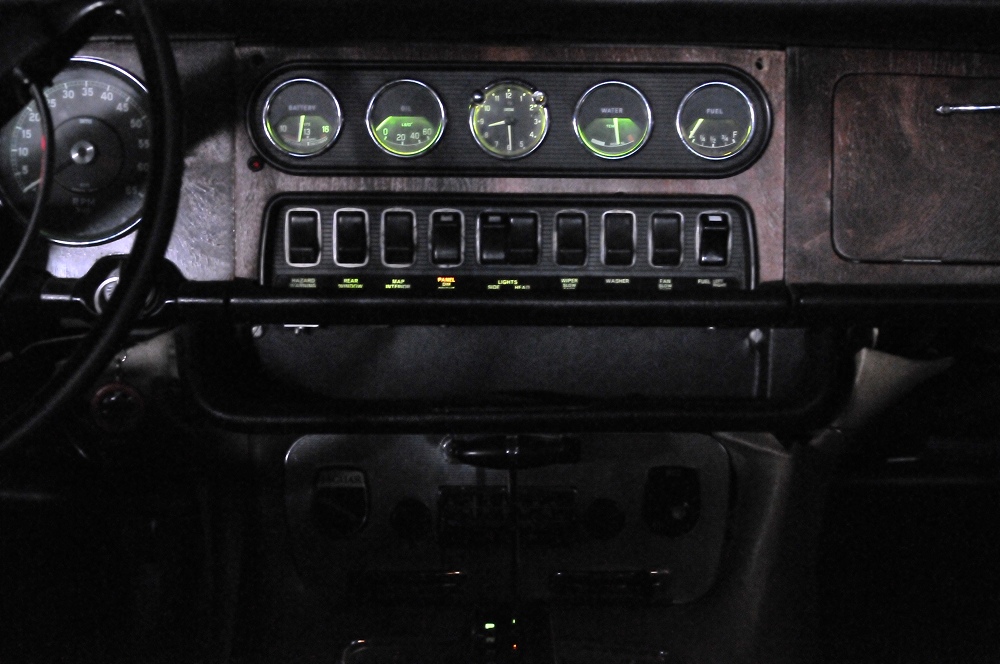
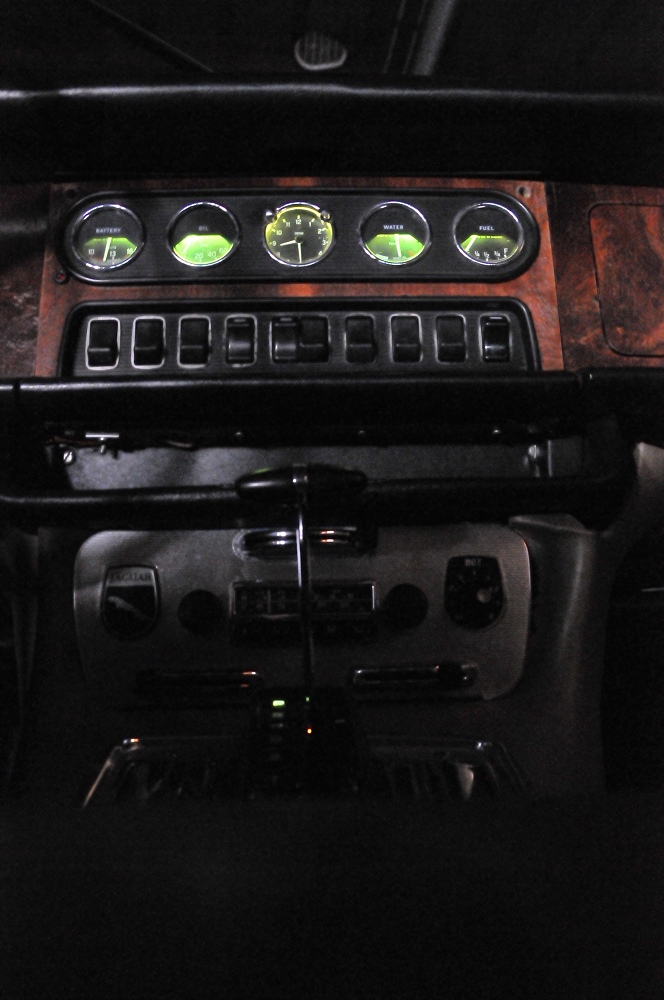
- sort out electrics (some lamps aren't working, others stay on, some switches are stuck)
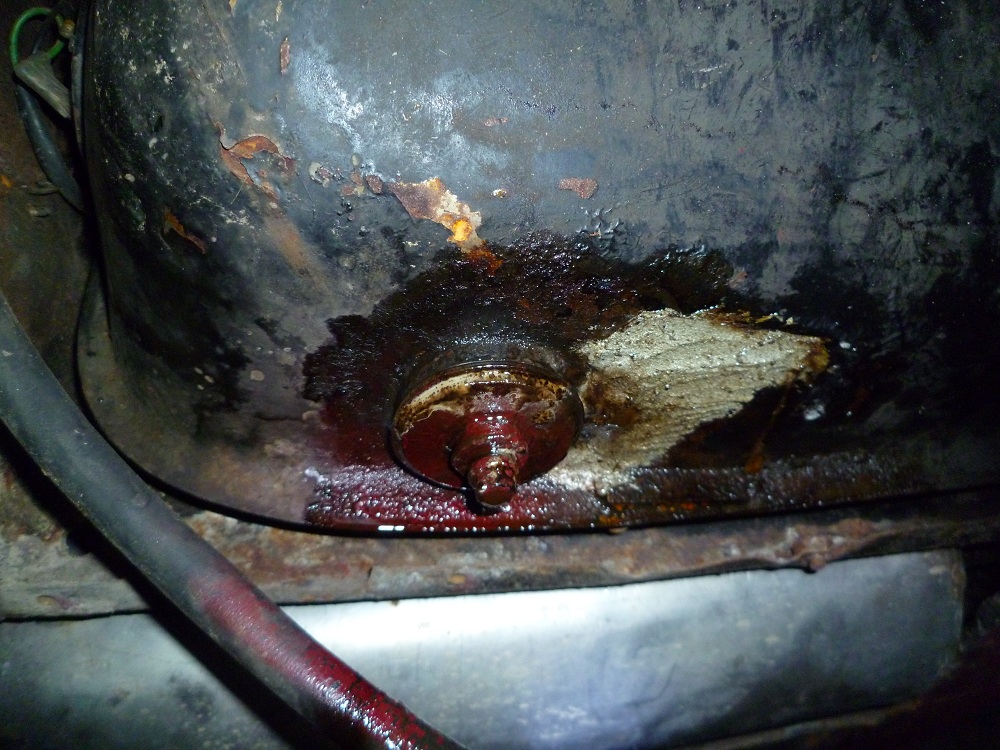
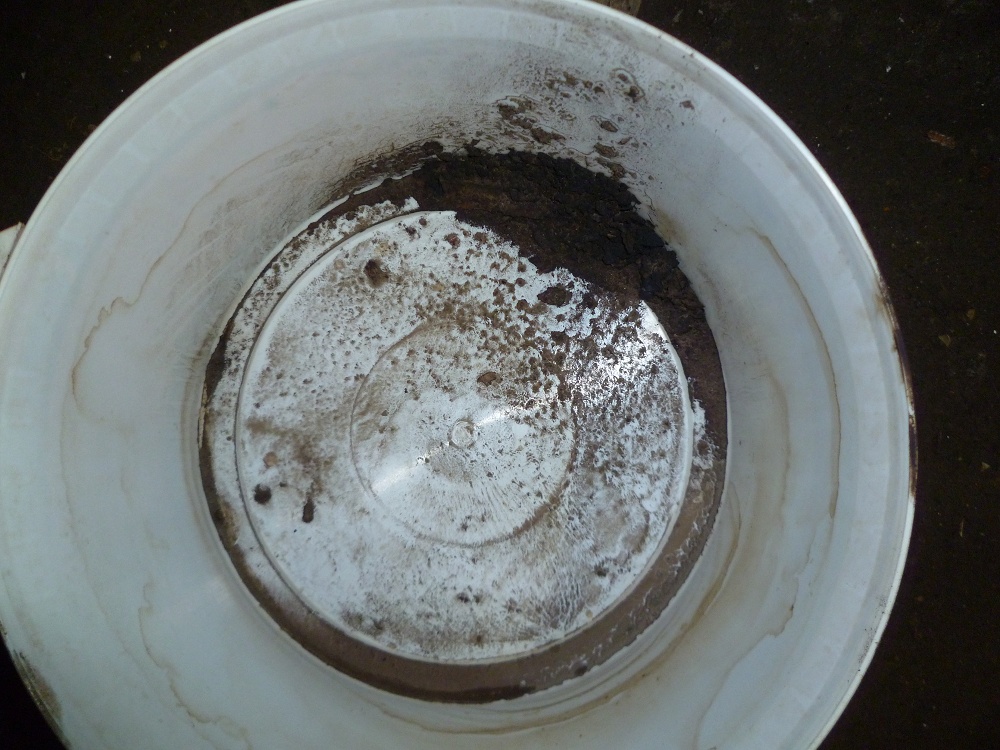
- try to repair leaky left petrol tank
- try to repair right petrol tank gauge
- replace cam cover gaskets (leaky) + check valve clearances
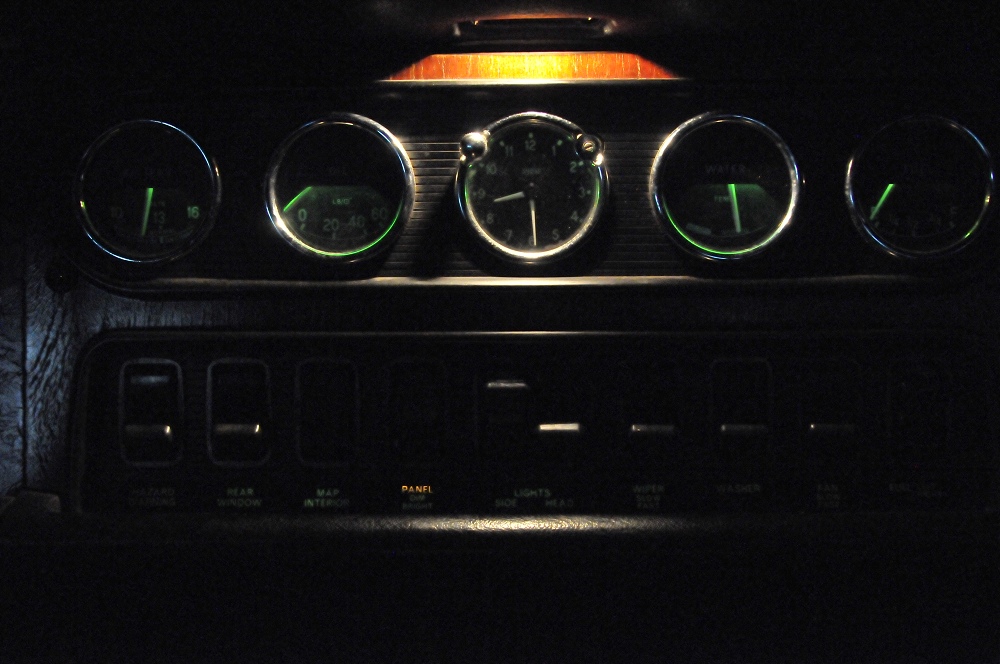
- try to find out why water temp and oil pressure gauges are giving a high reading
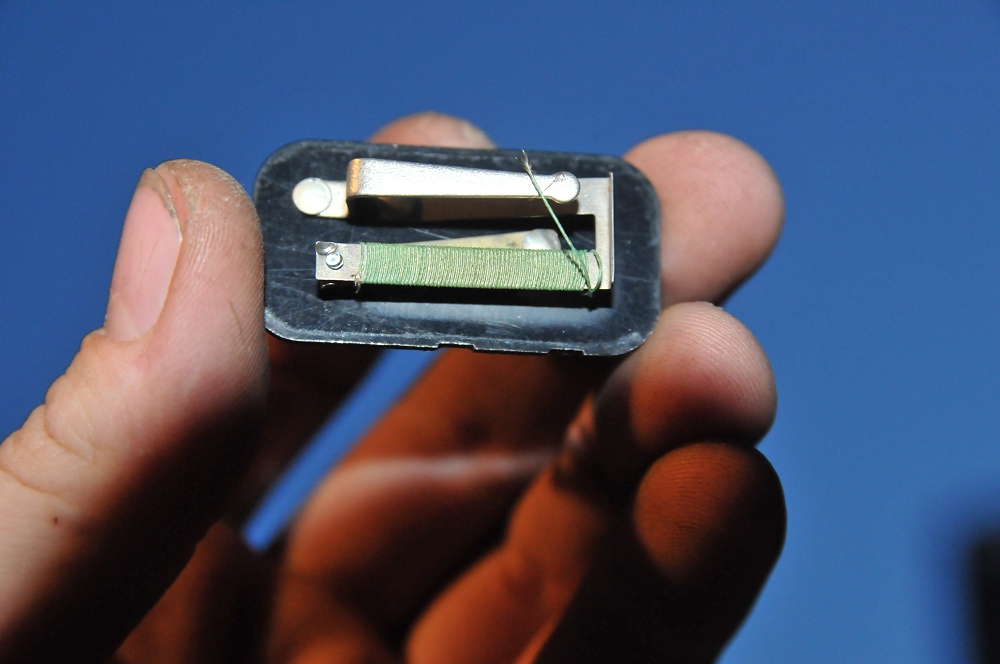
- replace flasher unit (acting weird)
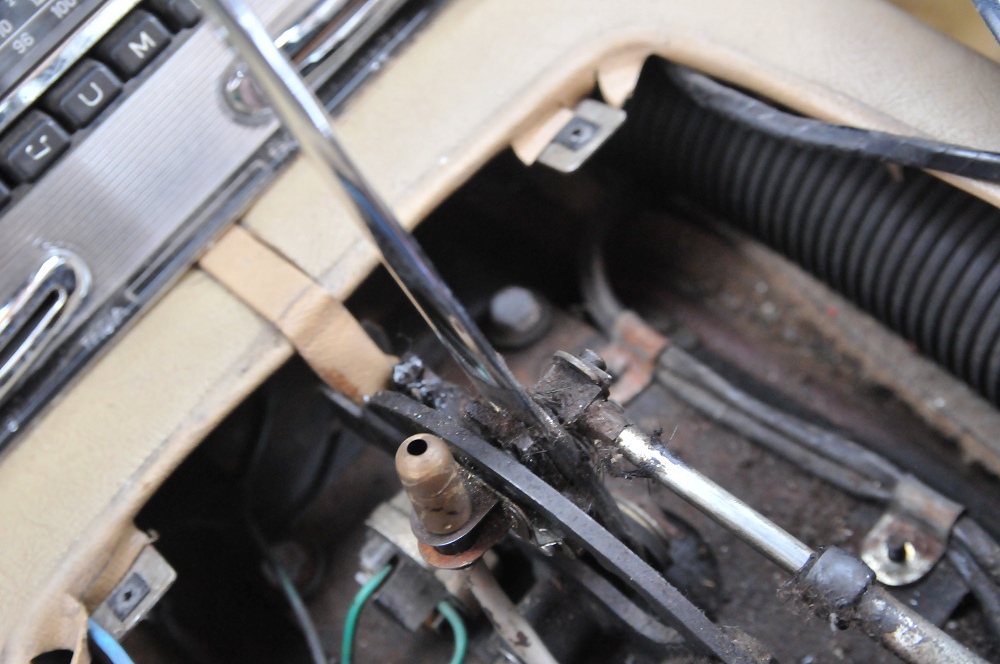
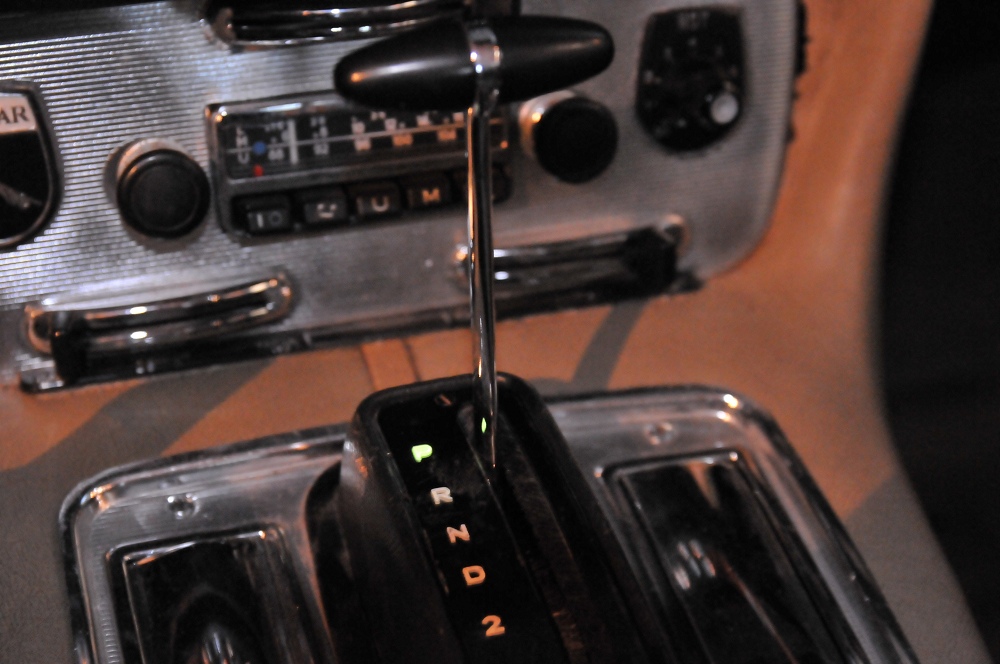
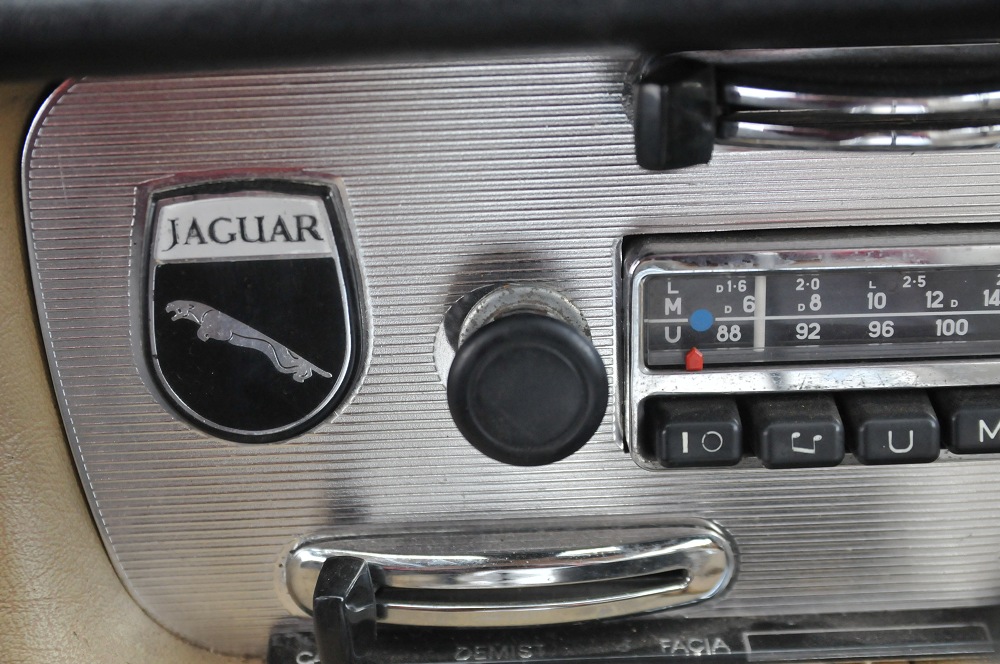
- repair leaky heater (disconnected by previous owner) - "dashboard out job" - maybe revarnish dashboard at the same time.
- test brakes extensively
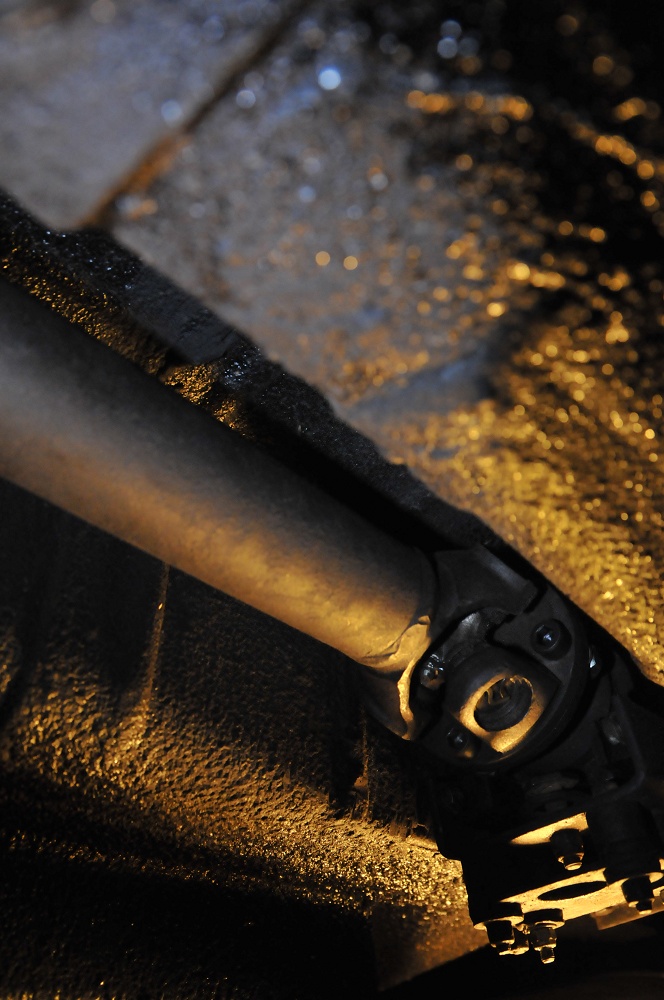
- repair rattle from prop shaft and align it
- test and if necessary correct compression, timing, carburetters - but all of that seems pretty good.
- replace front seat belts
- repair scar in black dashboard surround
- sort out rattles and loose bits and ends

Expensive, time consuming or optional things I might not do
- replace seat covers + driver's door trim
- new paint job (paint is old and worn)
- repairing some rust starting in the doors, under the bumpers...
- ideally, fit a new bonnet
- replace windscreen rubbers
- replace brake discs and possibly change the rubbers etc
- replace suspension bushes
- tyres
- belts and hoses
- lamp gaskets and lenses

Done in 2006
- new door rubbers
- new headlining
- welding and rust treatment for most of the underside and chassis of the car ("good for another 20 years according to the mechanic's letter)
- new rear view mirrors
- radiator cleaning
- maintenance (sometimes long overdue)
- placed a couple of simple seat belts
- replaced brake pads, aligned brake discs
- replaced most of the exhaust + silentblocks
- front wheel bearings etc replaced
- lots of silent blocks replaced
- computer geometry check
- cleaning and tuning of carburettors
- misc. bodywork repairs

All in all, quite a list. It would be a shame to let all this work go to waste, so I'll try to keep this car in a good state. Whether I'll decide to sell it when the Mk II is ready is still under consideration. I'm very thankful I have a big garage :-)